Mattermost is a collaboration platform focused on project management and workflow orchestration. While these features may not be applicable to many of the situations for which Internet from Scratch is planning, the basic text communication and filesharing functionality certainly is.
Preparing for Installation
This tutorial will be using the Turnkey Linux Mattermost appliance. Download the ISO for version 17.1 directly from the Turnkey Linux site here. If the file becomes unavailable, you can download it from this site below.
Burn the ISO to a DVD or create a bootable USB drive depending upon what type of device you are running Mattermost on. I’ve run this server on very low powered hardware and have had decent results. As I’m performing my installation for the purpose of writing this tutorial, I will be installing on a virtual machine with 1 CPU core and 1 GB of RAM.
Configure your router to assign a reserved IP address to your server. You must know the MAC address of your server’s network interface to do so. I HIGHLY recommend not skipping this step as failing to assign an IP address before installation can cause hostname issues.
Installation
Boot from the installation media and choose Install to Hard Disk. Next, choose Guided – use entire disk and set up LVM unless you have some reason to do otherwise. Next, use the arrow keys on your keyboard to select <Yes>. At the next screen, you may leave the default value of 90%. If you have a particularly small disk in your server and you wish to maximize your storage space, feel free to change it to max. Press enter. You will now be asked if you want to write the changes to the disk. Choose <Yes> and hit enter. Choose <Yes> and hit enter again to install GRUB. After the installation is complete, choose Eject and Reboot and remove your installation media. Press enter to reboot and allow the boot process to continue until you get to the screen below.
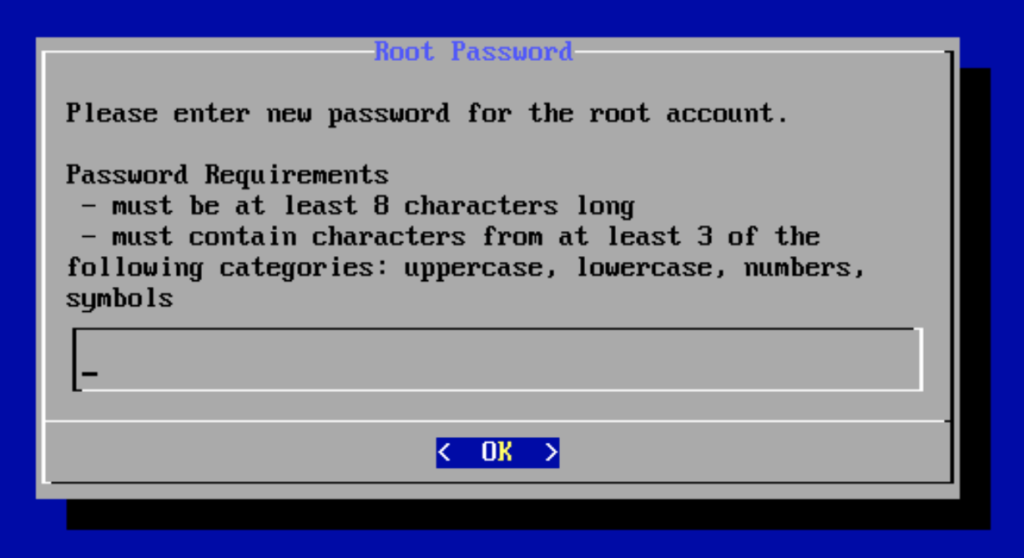
The next several screens will prompt you to create and confirm passwords for
- Root user
- PostgresSQL
- Mattermost admin account
Pay attention to the password requirements and please… PEOPLE… Keep track of your passwords! I cannot stress this enough. For the love of God, keep track of your passwords, I’m begging you.
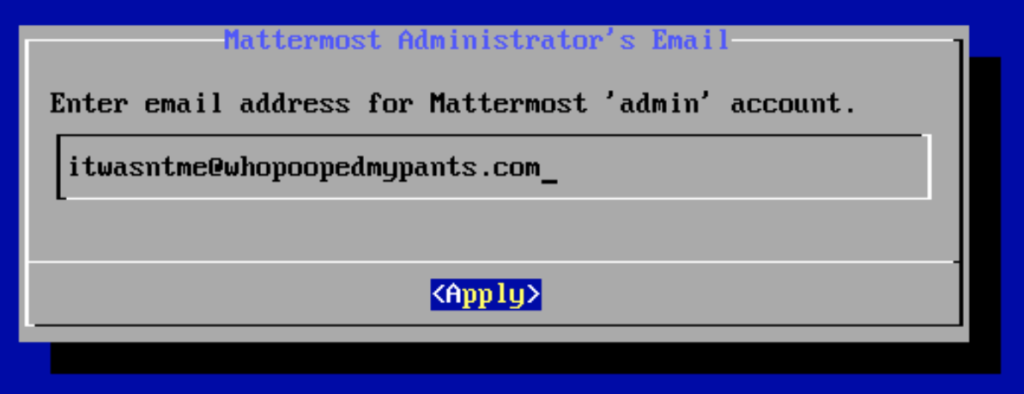
You will now be asked to provide an email address for the Mattermost administrator’s user. Unless you plan on having an email server on your network, this will matter little. Feel free to enter whatever you wish as this can be changed later.
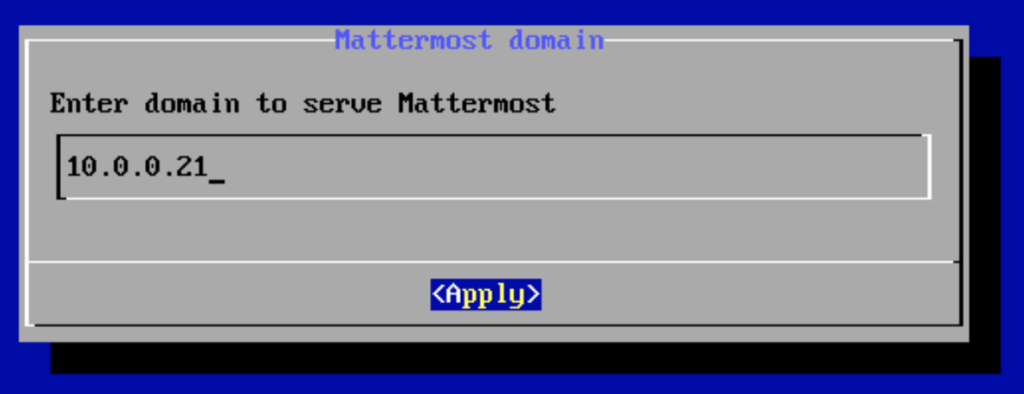
You will now be asked to enter a domain to server Mattermost. If you have a DNS server on your network, enter the FQDN. If you don’t know what any of that means, enter the IP address you have chosen to use with this server. Even if you haven’t yet configured your router to assign an IP address via the MAC address, enter the IP address you PLAN TO USE for the server. This matters, so pay attention and get this part right.
Initialize Hub services – this is a suite of online services provided by Turnkey Linux. We wouldn’t be able to use these services if we wanted to. Press enter to skip this step.
You’ll now be asked for an email address for system notifications and critical safety alerts. See email disclaimer above.
Security Updates – you are not online, select skip.
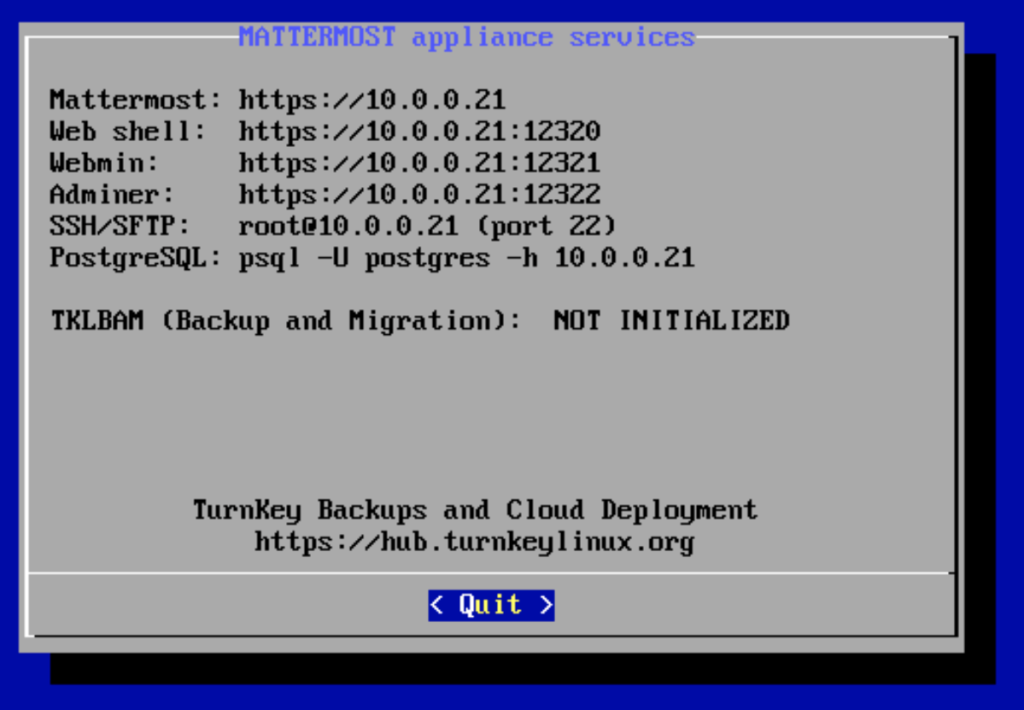
WOOOOOT! Installation is complete. If the IP addresses in the appliance services menu don’t match the IP you intended to use (and the IP you entered in the domain setup step) resolve that now and reboot the system.
Configuration
Visit the web interface by entering the FQDN or IP address into your browser. You will almost certainly get some version of this warning:
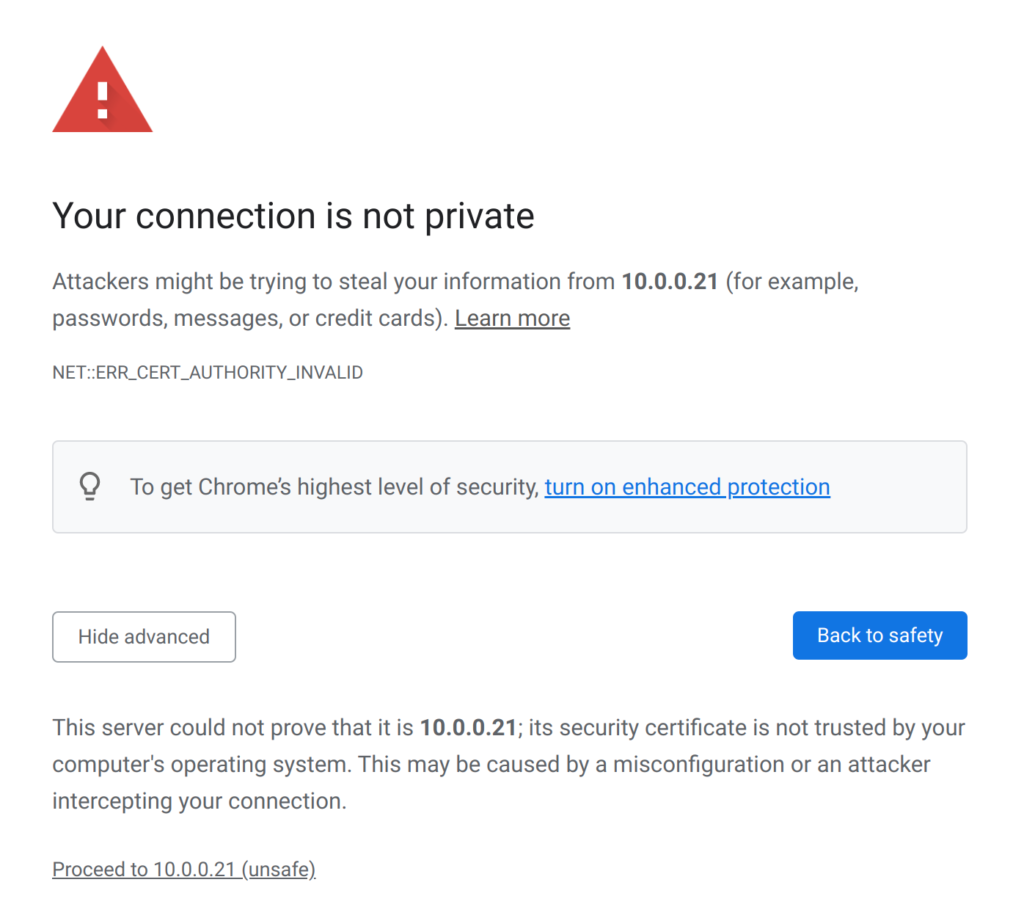
Since we are not trying to impersonate ourselves and we are not terribly concerned about hackers on our network (quite yet), continue to the website.
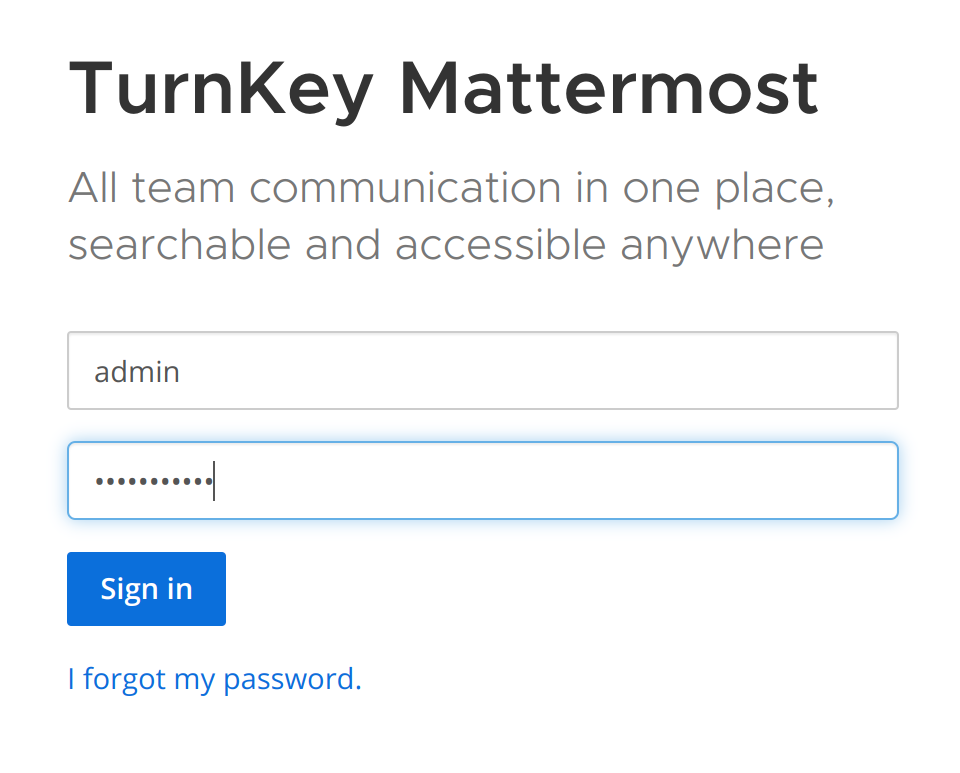
Boom. Exactly what we wanted to see. Your username is admin and you configured your password during installation. You wrote it down, right? Enter a name for your organization. I chose Cain Family. This can be changed later. At the next screen, you may enter your FQDN if you have one. If you don’t, erase the IP address that is pre-populated and click the I’ll do this later button. At the How do you plan to use Mattermost screen, choose all that apply. I am choosing none of them and simply hitting Continue. The next screen will prompt you to connect other online services. Obviously we will be skipping this. Next, select a name for your first channel and hit Continue. Click Finish Setup.
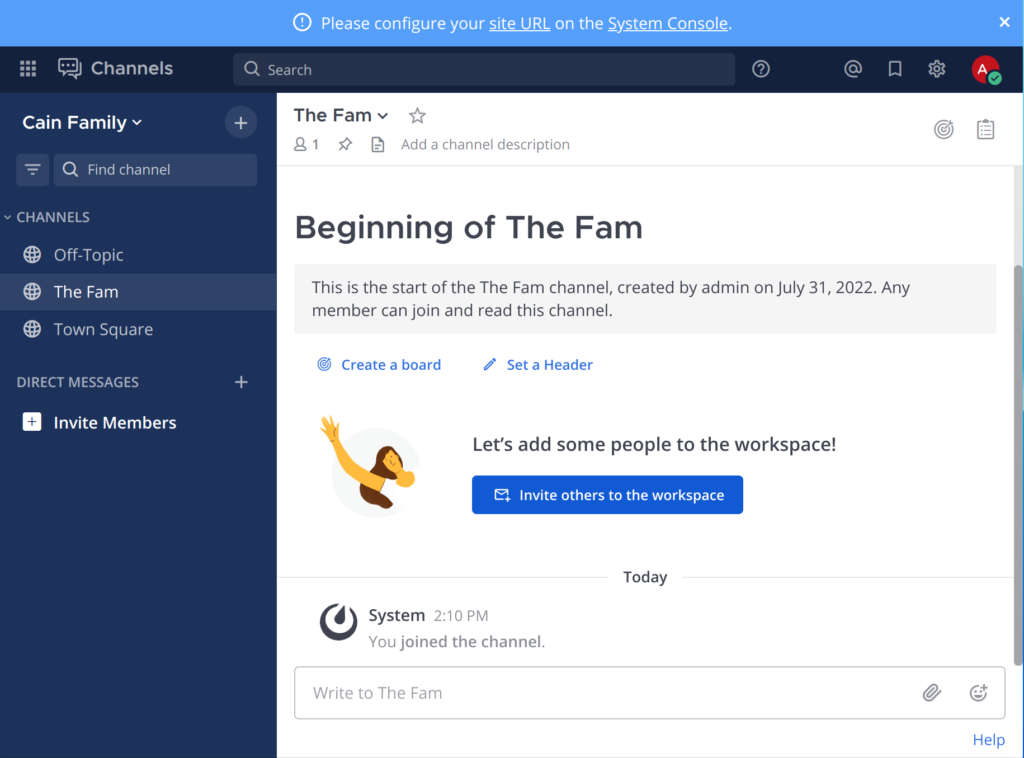
We did it! But we still only have one user. Not very exciting. If you log out, you will see that the default configuration for Mattermost is to not allow self-registration. That is, there is no ‘Create Account’ option on the landing page. Let’s fix that. Log in if you must and click the menu icon in the upper left corner and choose System Console. Click Signup under AUTHENTICATION in the menu on the left.

Change Enable Open Server to true and click the blue Save button at the bottom of the page. Upon logging out, you will now see the Don’t have an account? Create one now link on the landing page. You will be told that a valid email is required to create an account… this is a lie. Feel free to make a new account or, better yet, have a friend create one on another device for testing. Assuming you have friends NEEEEERD!
Under the Hood
A handful of useful tools can be accessed by quitting the Mattermost configuration console and logging in as root. Enter root at the mattermost login: prompt and then enter the password you configured at installation. At the root@mattermost ~# prompt, type confconsole to launch the advanced configuration console. Most options are only relevant for Internet connected machines but the network settings can be found here. This is where you can set a static IP address if you are not using DHCP reservation on your router.
You can also reboot and shutdown the machine from this menu.
Using Mattermost
I won’t go into great detail here, you can look at the Mattermost documentation or look it up on youtube, its usage is fairly straightforward. I haven’t personally used any of the planning or workflow features, I’m sure they are adequate. Your mileage may vary.
Final Thoughts
I found that the baseline RAM requirement was about 850 megs. Increasing the virtual machine’s RAM to 2 GB seemed to improve performance.
All in all, this is a straightforward installation and configuration and is a great starting point for people who are interested in the Internet from Scratch project but have very little experience administering servers.